How-to — task-oriented recipe.
- Sign into your team’s Google Admin console using an account with super admin privileges.
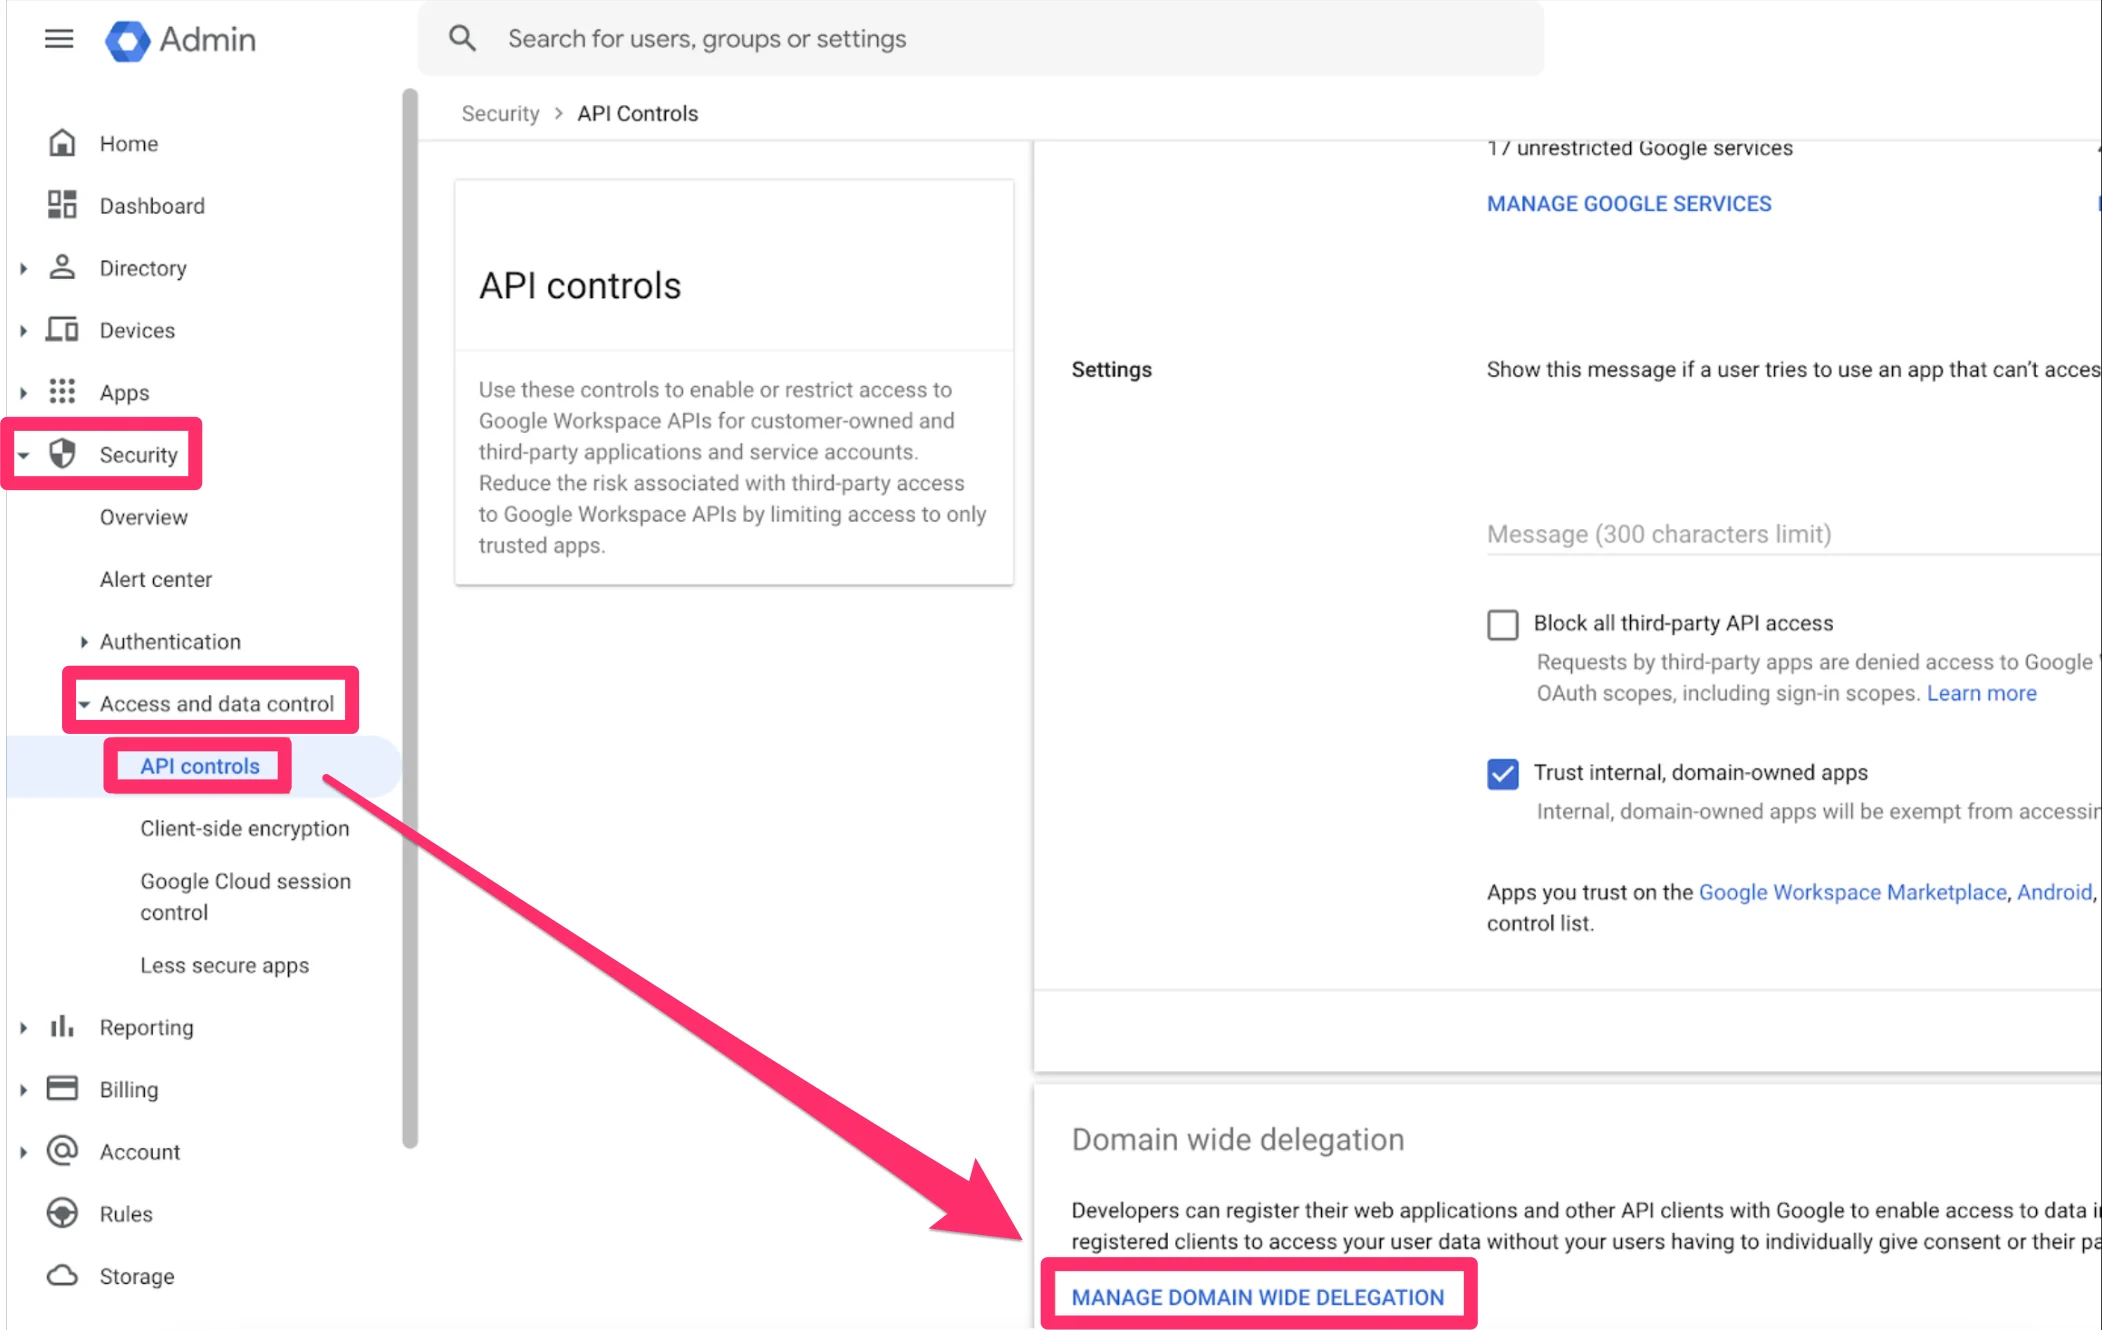
- On the left sidebar, click Security > Access and data control > API controls. From there, scroll down and click on MANAGE DOMAIN WIDE DELEGATION.
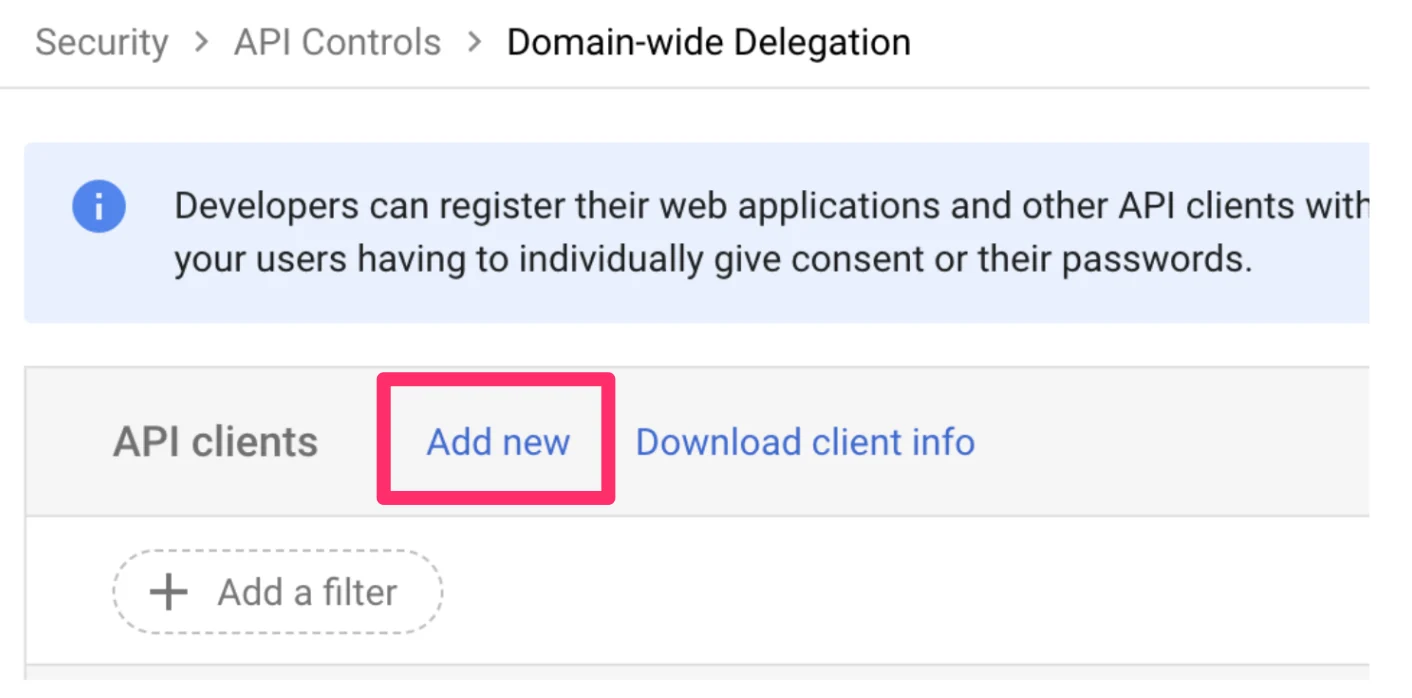
- From there, click Add new.
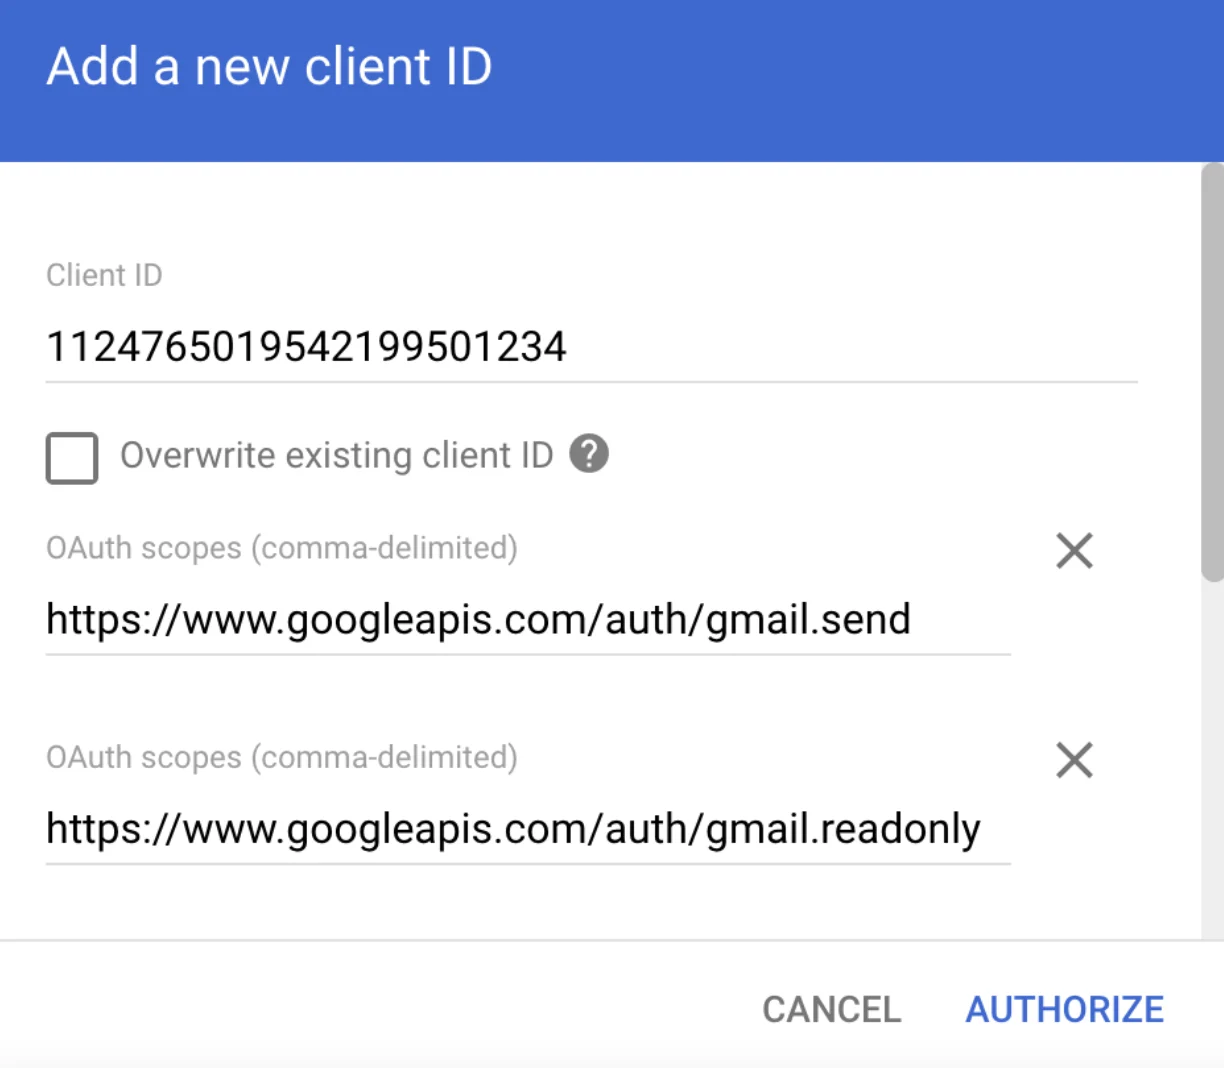
- Enter the following details: 1.
- https://www.googleapis.com/auth/gmail.send
- https://www.googleapis.com/auth/gmail.readonly
- https://www.googleapis.com/auth/calendar.readonly
- https://www.googleapis.com/auth/userinfo.email
- Click Authorize. The client will now be added successfully.
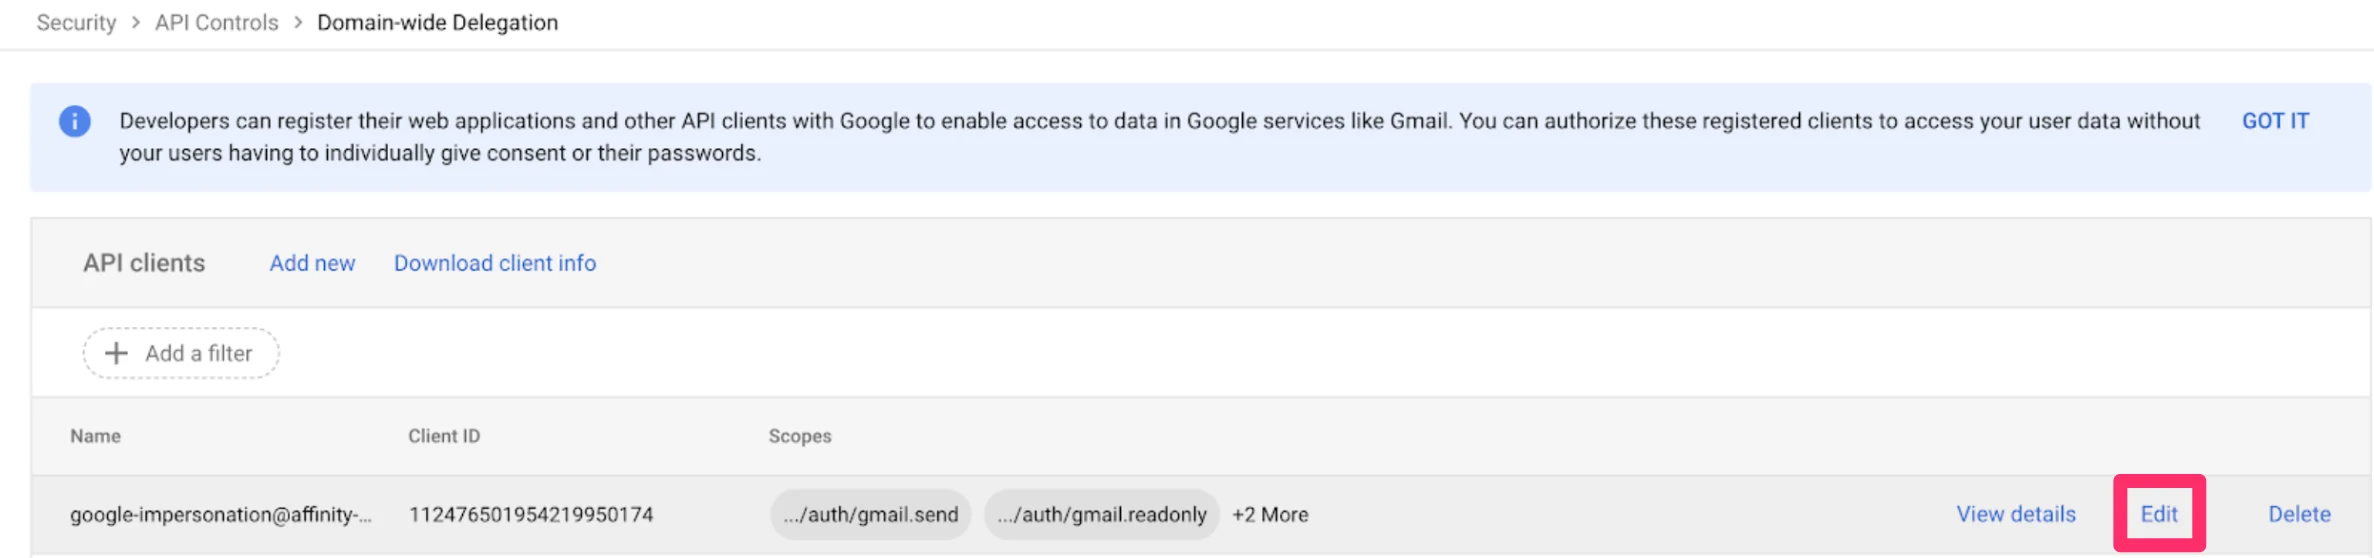
- Point to the new Client ID and click View details to make sure every scope is listed.
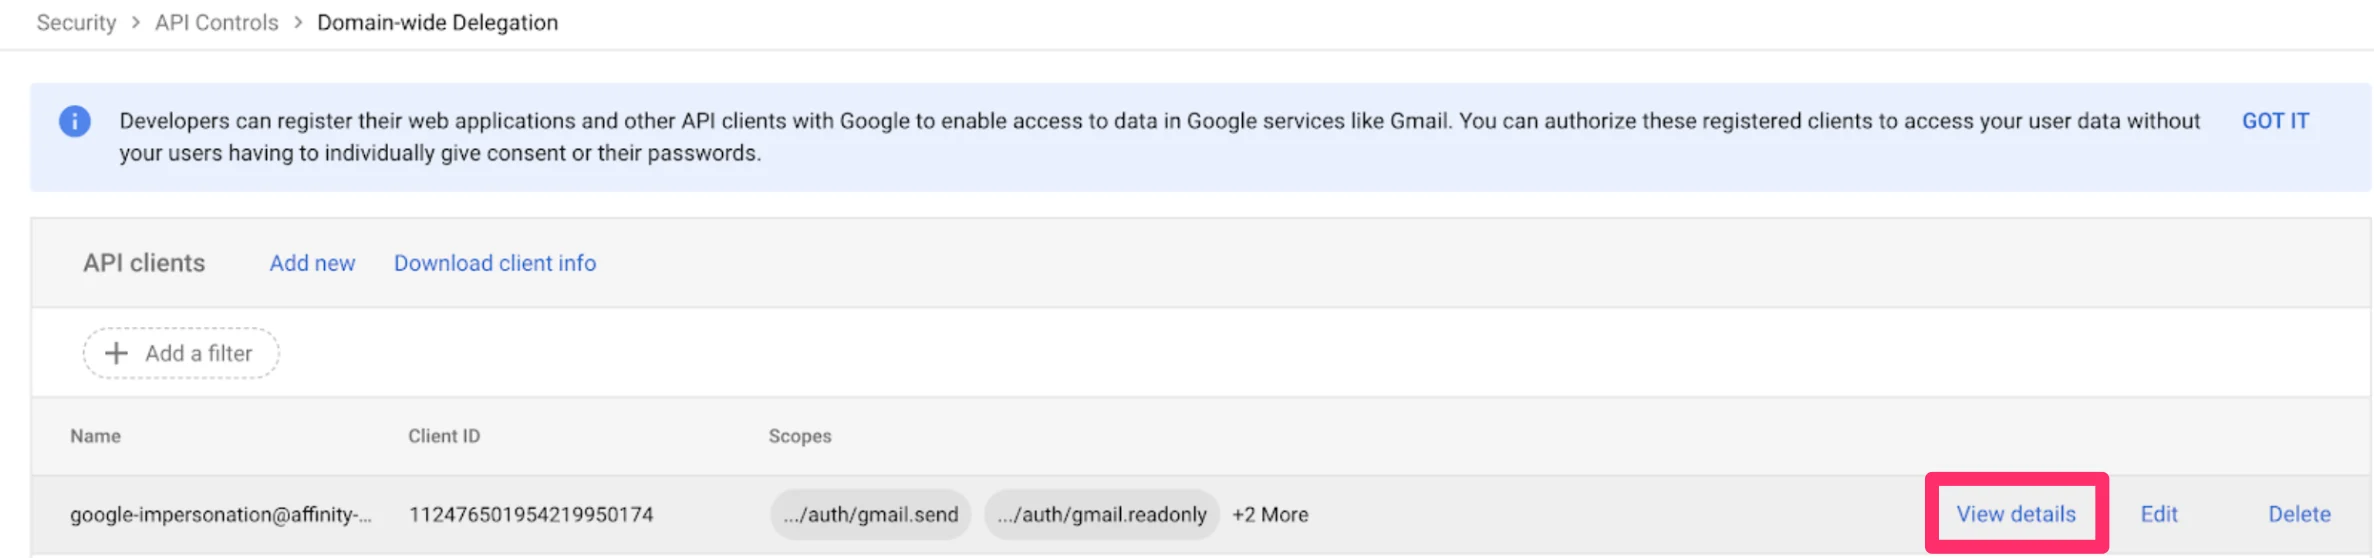
- If a scope is not listed, click Edit, enter the missing scope, and click Authorize again. You will not be able to edit the client ID moving forward.
- The app should be available for use within an hour, but can take up to 24 hours.
- Finally, please reach out to support@affinity.co stating that you have followed these steps so that we can complete the process from Affinity’s end.