> ## Documentation Index
> Fetch the complete documentation index at: https://support.affinity.co/llms.txt
> Use this file to discover all available pages before exploring further.
# Getting started with lists in Affinity
> Help center reference
**Concept** — background and overview.
## Types of saved views within a list
Once you determine what [type of list](/s/article/Types-of-lists-in-Affinity) you'll be creating, you can start creating saved views within that list and customize them according to your preferences.
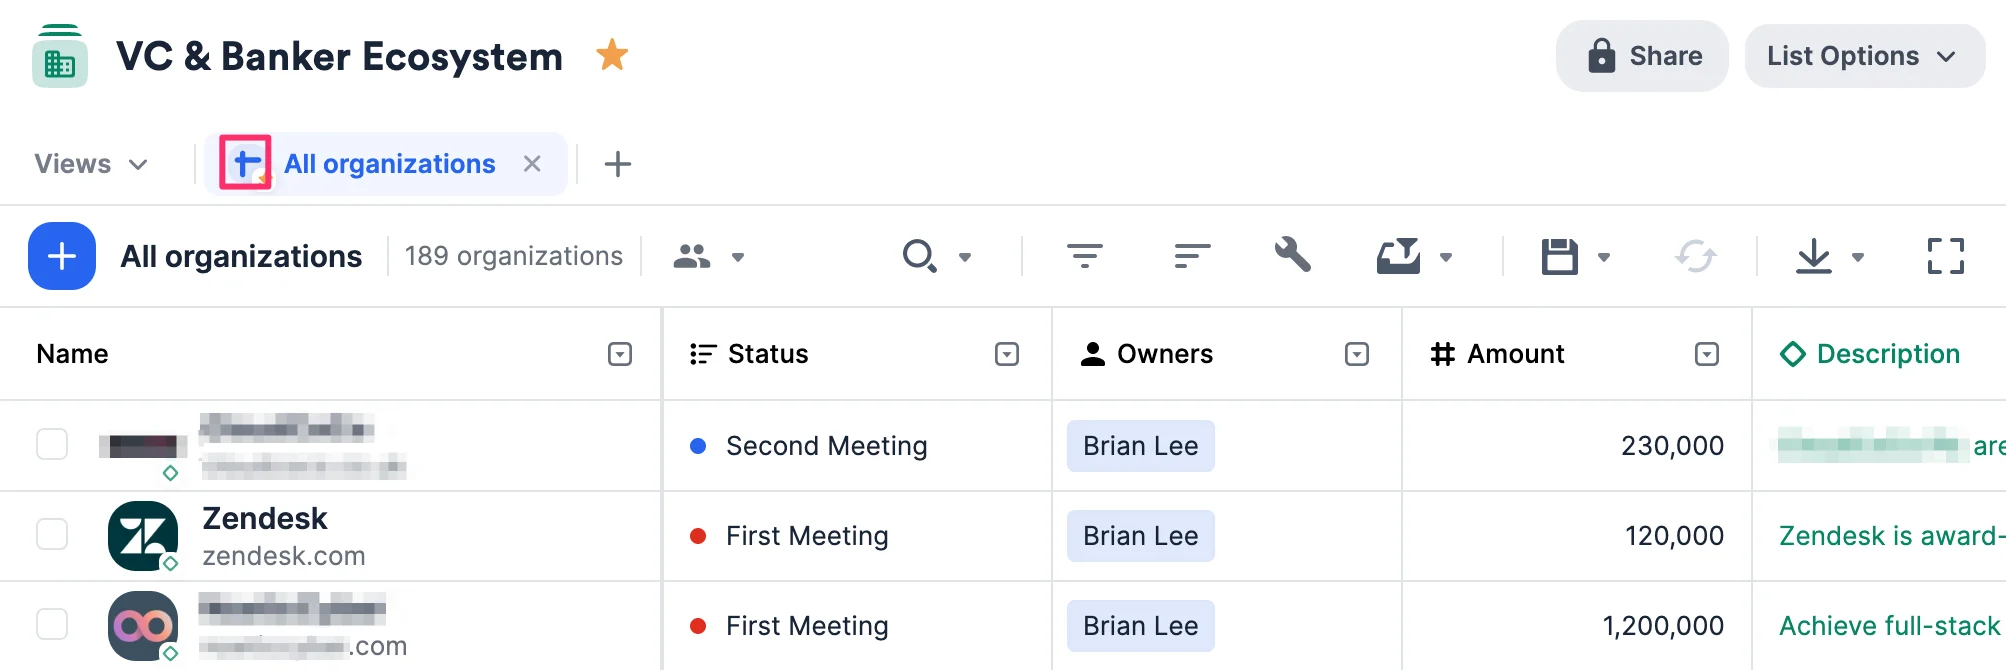
1. **Sheet View** — View your list data in a table-style format with cells.
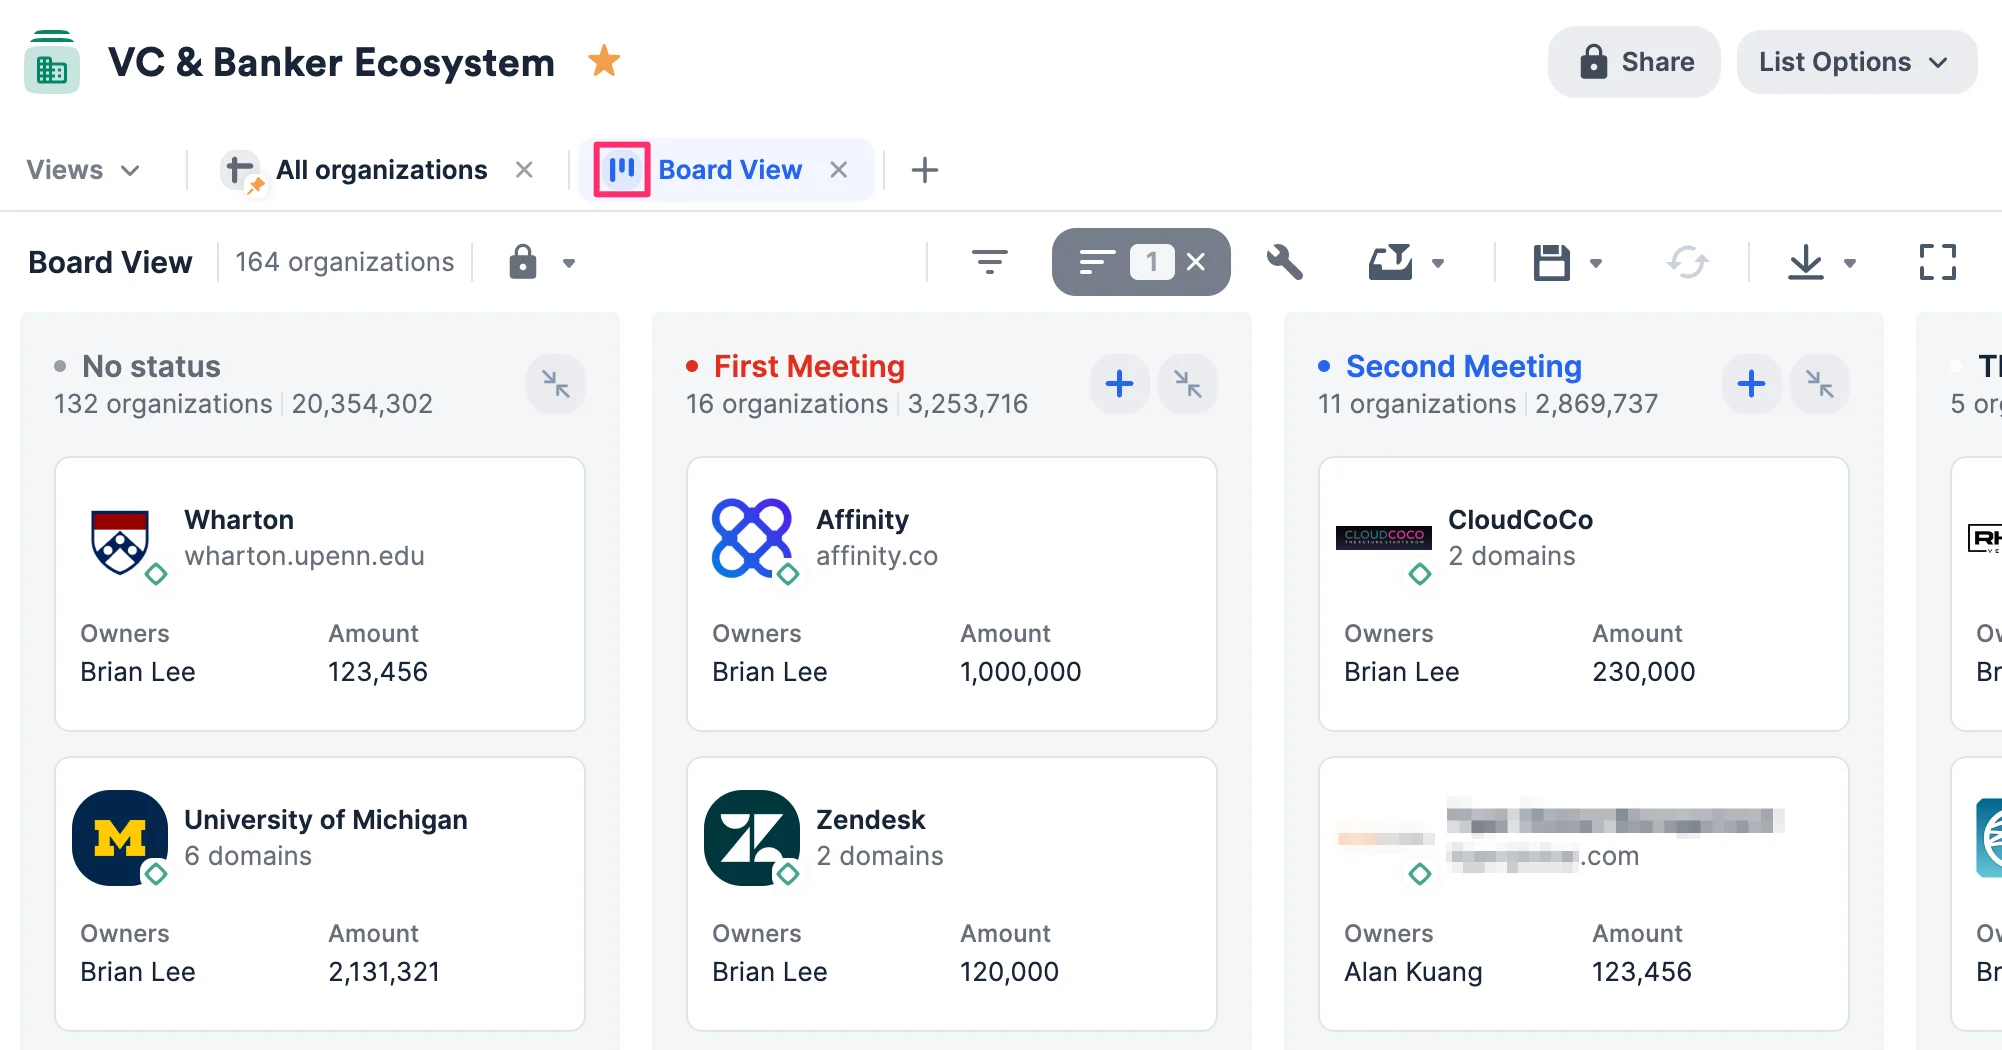
 2. **Board View** — View your list data in a Kanban-style format with cards (see [Affinity Board Views](/s/article/How-to-use-board-views-in-Affinity)).
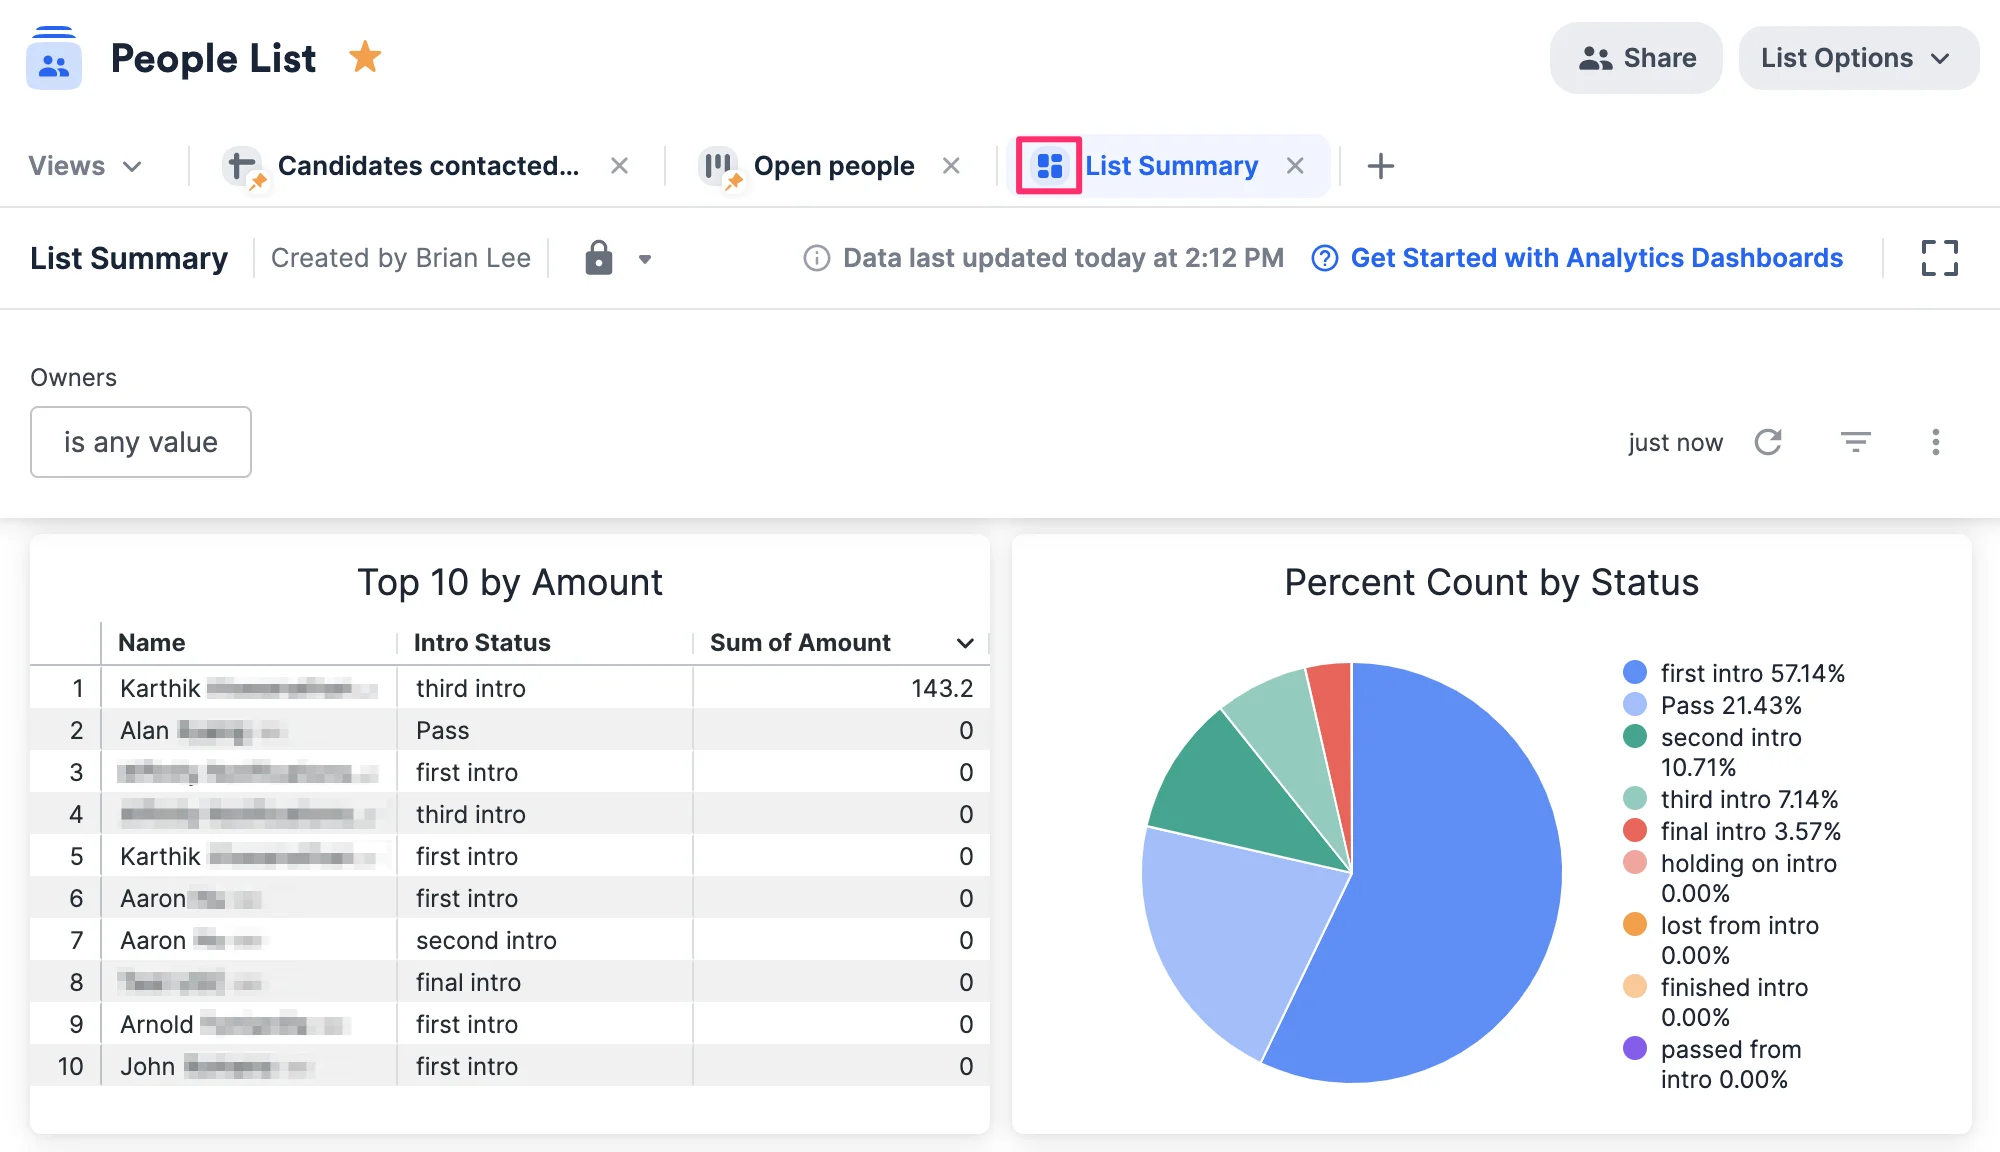
 3. **Dashboard View** — View your list data in a report-style format with visual charts, graphs, and funnels (see [Affinity Analytics](/s/article/Getting-started-with-Affinity-Analytics)).
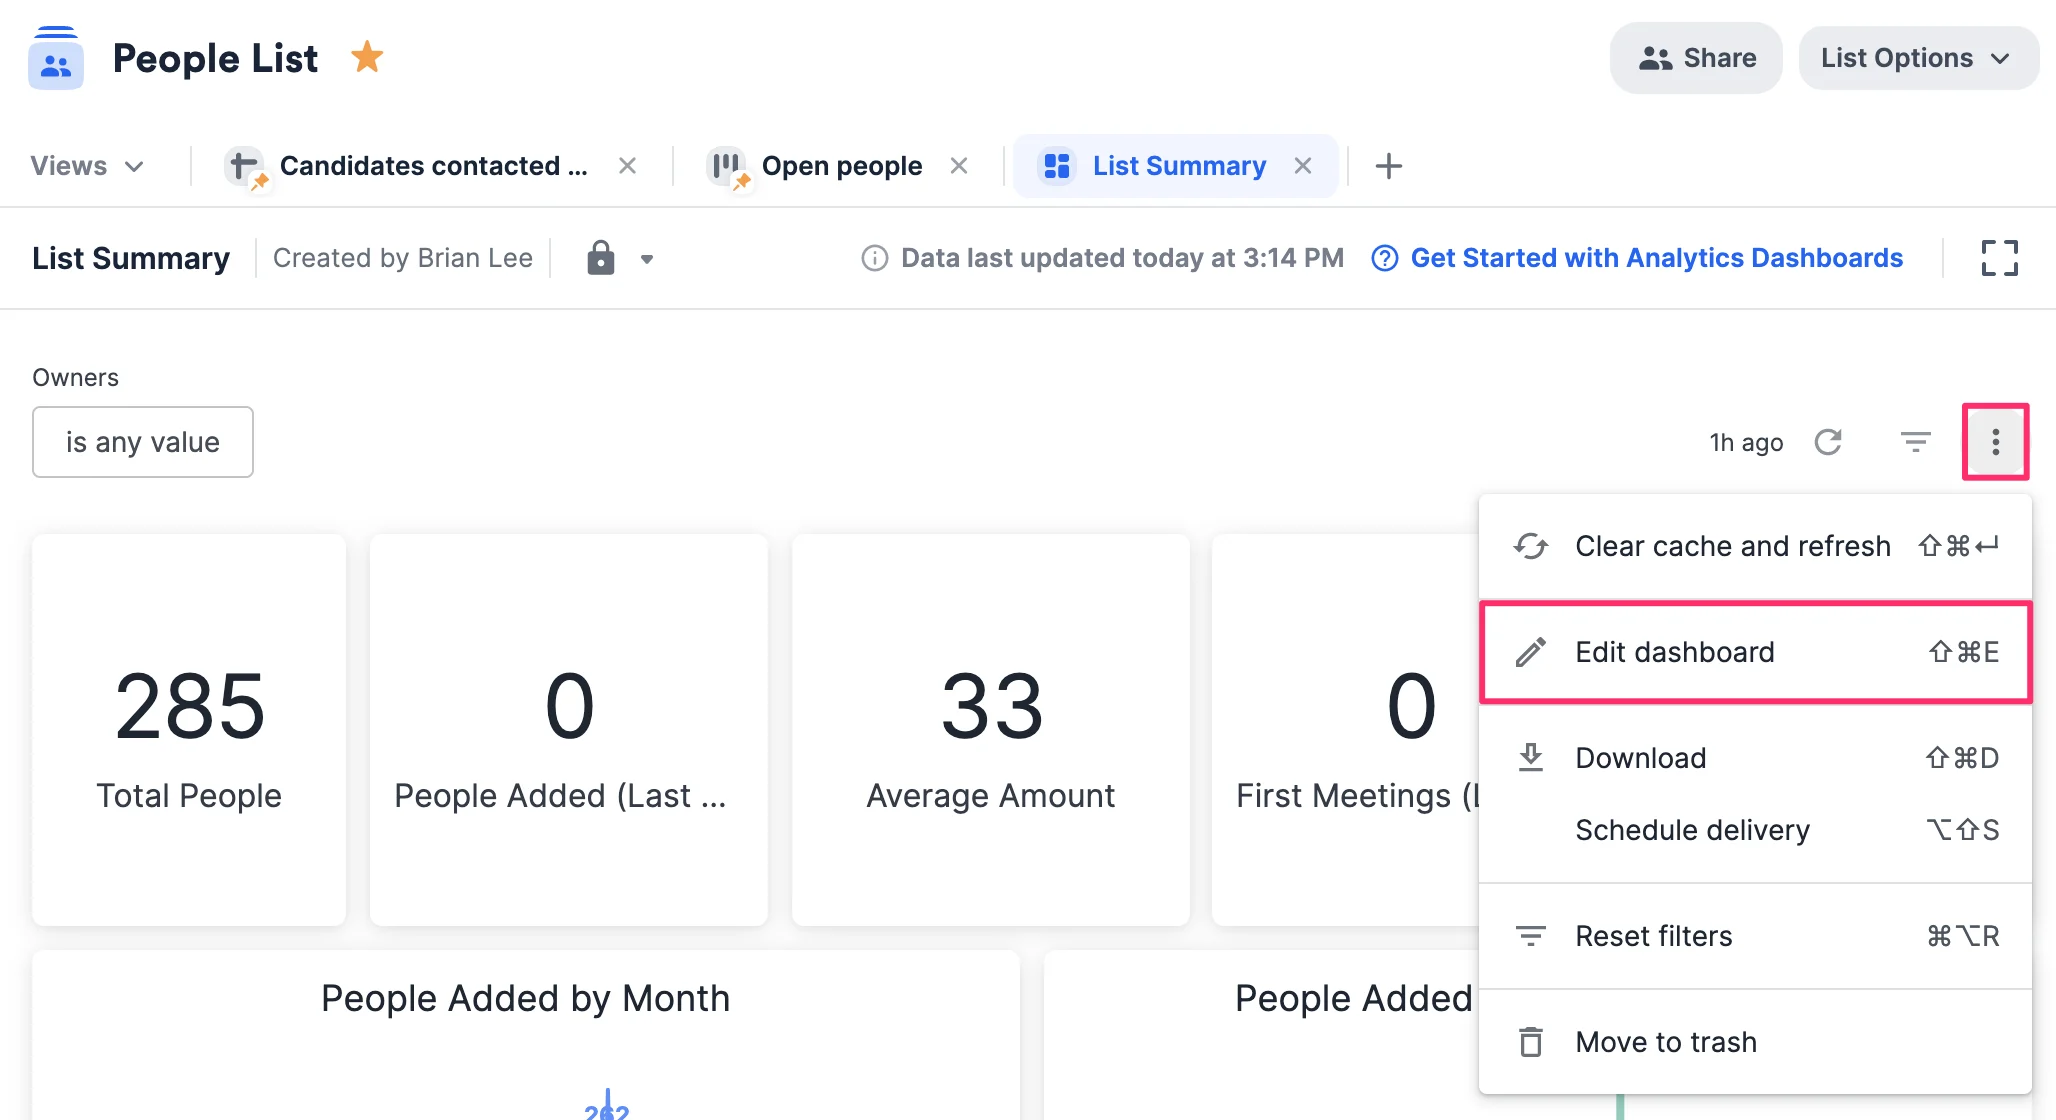
 * Dashboard views can only be created or edited by those with a **Creator** role in your Affinity account (see "Understanding your role" in [Getting started with Affinity Analytics](/s/article/Getting-started-with-Affinity-Analytics)).
 * Those with a **Viewer** role can filter and drill into underlying data on existing dashboard views (see "Understanding your role" in [Getting started with Affinity Analytics](/s/article/Getting-started-with-Affinity-Analytics)).
## List-level actions (from left to right)
* Those with a **Viewer** role can filter and drill into underlying data on existing dashboard views (see "Understanding your role" in [Getting started with Affinity Analytics](/s/article/Getting-started-with-Affinity-Analytics)).
## List-level actions (from left to right)
 * Click the **list title** to edit the title. List owners and list admins only.
* Click the **star icon** to favorite or unfavorite the list.
* Click **Share** to share the list with your team. List owners and list admins only.
* Click **List Options** to see additional list-level actions.
## View-level actions (from left to right)
* Click the **list title** to edit the title. List owners and list admins only.
* Click the **star icon** to favorite or unfavorite the list.
* Click **Share** to share the list with your team. List owners and list admins only.
* Click **List Options** to see additional list-level actions.
## View-level actions (from left to right)
 See [How to create and use saved views within a list](/s/article/How-to-create-and-use-saved-views-within-a-list) for more detail.
1. On the first row, navigate across saved views for that list:
* Click **Views** to access private or shared saved views, and to pin, unpin, or delete saved views.
* Use the tabs next to **Views** to switch between opened saved views.
* Click the **+** icon to create a new saved view, access an existing saved view, or choose a template.
2. On the second row, take actions for the specific saved view:
* Click the **blue +** icon to add a contact as a list entry.
* Click the **saved view title** to edit the title.
* Click the **View Permissions** icon to make it private or shared.
* Click the **Search** icon to find a contact within the saved view.
* Click **Filter**, **Sort**, or **Customize** to change the saved view.
* Click the **Filter interactions** icon to filter by a team member's communications.
* Click the **Save** icon to update the view with your changes or create a copy.
* Click the **Revert** icon to undo configuration changes to the saved view.
* Click the **Export** icon to export the current saved view as a CSV (see [How to export data from your Affinity lists](/s/article/How-to-export-data-from-your-Affinity-lists)).
* Click the **Full screen** icon to enter full screen mode.
## Related topics
- [Getting Started with Affinity](/s/article/Affinity-Tutorial-Library.md)
- [Getting Started With Affinity Analytics](/s/article/Getting-started-with-Affinity-Analytics.md)
- [Getting Started with Affinity MCP](/s/article/Getting-started-with-Affinity-MCP.md)
- [Getting started with Affinity for Salesforce + FAQs](/s/article/Getting-started-with-Affinity-for-Salesforce-FAQs.md)
- [Getting Started With The Affinity API + FAQs](/s/article/Getting-started-with-the-Affinity-API-faqs.md)
See [How to create and use saved views within a list](/s/article/How-to-create-and-use-saved-views-within-a-list) for more detail.
1. On the first row, navigate across saved views for that list:
* Click **Views** to access private or shared saved views, and to pin, unpin, or delete saved views.
* Use the tabs next to **Views** to switch between opened saved views.
* Click the **+** icon to create a new saved view, access an existing saved view, or choose a template.
2. On the second row, take actions for the specific saved view:
* Click the **blue +** icon to add a contact as a list entry.
* Click the **saved view title** to edit the title.
* Click the **View Permissions** icon to make it private or shared.
* Click the **Search** icon to find a contact within the saved view.
* Click **Filter**, **Sort**, or **Customize** to change the saved view.
* Click the **Filter interactions** icon to filter by a team member's communications.
* Click the **Save** icon to update the view with your changes or create a copy.
* Click the **Revert** icon to undo configuration changes to the saved view.
* Click the **Export** icon to export the current saved view as a CSV (see [How to export data from your Affinity lists](/s/article/How-to-export-data-from-your-Affinity-lists)).
* Click the **Full screen** icon to enter full screen mode.
## Related topics
- [Getting Started with Affinity](/s/article/Affinity-Tutorial-Library.md)
- [Getting Started With Affinity Analytics](/s/article/Getting-started-with-Affinity-Analytics.md)
- [Getting Started with Affinity MCP](/s/article/Getting-started-with-Affinity-MCP.md)
- [Getting started with Affinity for Salesforce + FAQs](/s/article/Getting-started-with-Affinity-for-Salesforce-FAQs.md)
- [Getting Started With The Affinity API + FAQs](/s/article/Getting-started-with-the-Affinity-API-faqs.md)